Interact with a GraphQL API from a .NET Core Application
When it comes to C#, it’s not too difficult or time-consuming to create or consume RESTful APIs. In fact, I recently published a tutorial that demonstrated how to create a RESTful API with .NET Core using MongoDB as the NoSQL database.
RESTful APIs are great, but what happens when you want to work with GraphQL and query your APIs rather than just consume them?
In this tutorial, we’ll see how to use .NET Core to interact with a GraphQL API. To make things easier, we’ll generate our API with MongoDB App Services.
The requirements
For this particular tutorial, you’ll need to have a few things available and configured prior to getting started.
- .NET Core 6+.
- A MongoDB Cloud account with a free tier cluster (M0) or better deployed.
For reference, I’m using .NET Core 6.0.101, but any version of 6 or higher should work fine. We’ll be using the CLI, but if you feel more comfortable using Visual Studio, that works too.
While it isn’t 100% necessary to use MongoDB in this tutorial, MongoDB makes it extremely easy to get started with a GraphQL API because you can automatically generate an API from any of your databases with a few mouse clicks. For this reason, it will power the API for this example.
Create a new .NET Core application with the CLI
To keep things simple and easy to understand, we’re going to create and work with a console based .NET Core application. We’ll be able to spend less time with the configuration, and more with the code that matters.
Assuming .NET Core is installed and you have access to the CLI, execute the following command:
dotnet new console --output MongoExample
The above line will generate a new console application inside a MongoExample directory.
We’re not done yet though. We need to install a GraphQL dependency for querying an actual GraphQL API as well as a dependency for working with JSON data. From the CLI, execute the following:
dotnet add package GraphQL.Client
dotnet add package GraphQL.Client.Serializer.Newtonsoft
dotnet add package Newtonsoft.Json
At the end of the day, GraphQL is still accessed over HTTP, so a package isn’t absolutely necessary, but having one will make life much easier.
We have a starting point for our project. The next time we visit our project, we’ll be writing code to do all the magic.
Quickly deploy a GraphQL API with MongoDB App Services
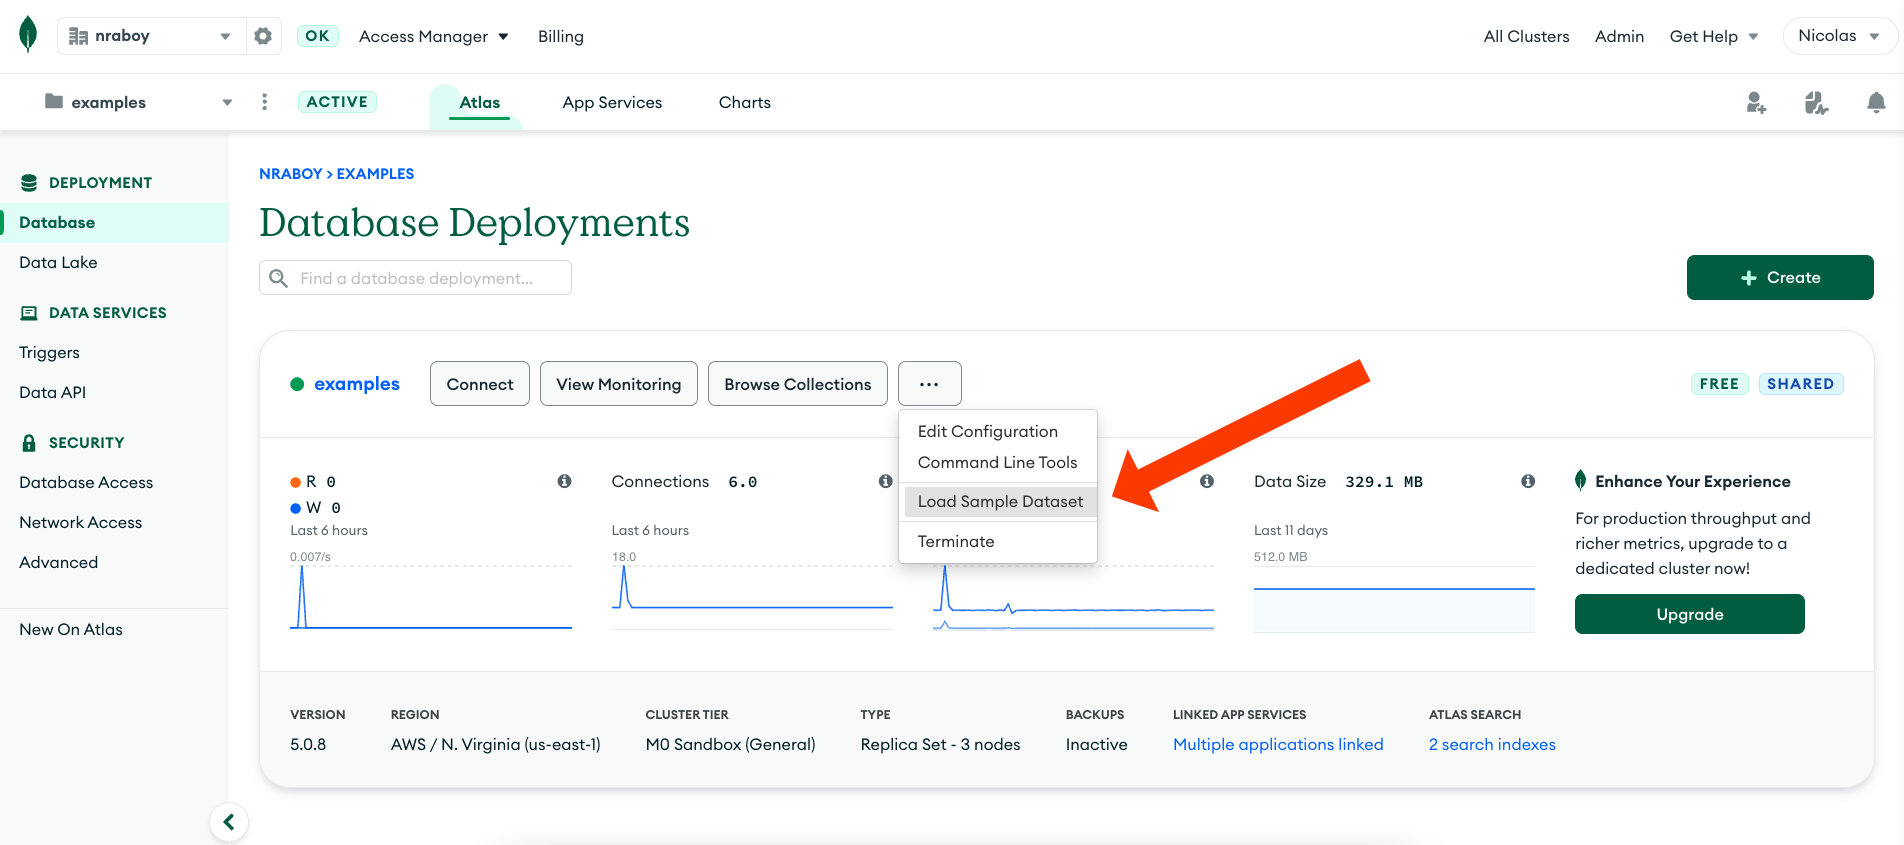
Getting a GraphQL API deployed is easy with MongoDB. We’re going to assume that you have a MongoDB Cloud account with an Atlas cluster deployed. If you have no databases in your cluster, don’t worry because you can use one of the sample sets that Atlas offers.

When we start writing code, we’re going to refer to the “sample_mflix” database that is part of the sample dataset. Feel free to adapt the tutorial to something of your own as well.
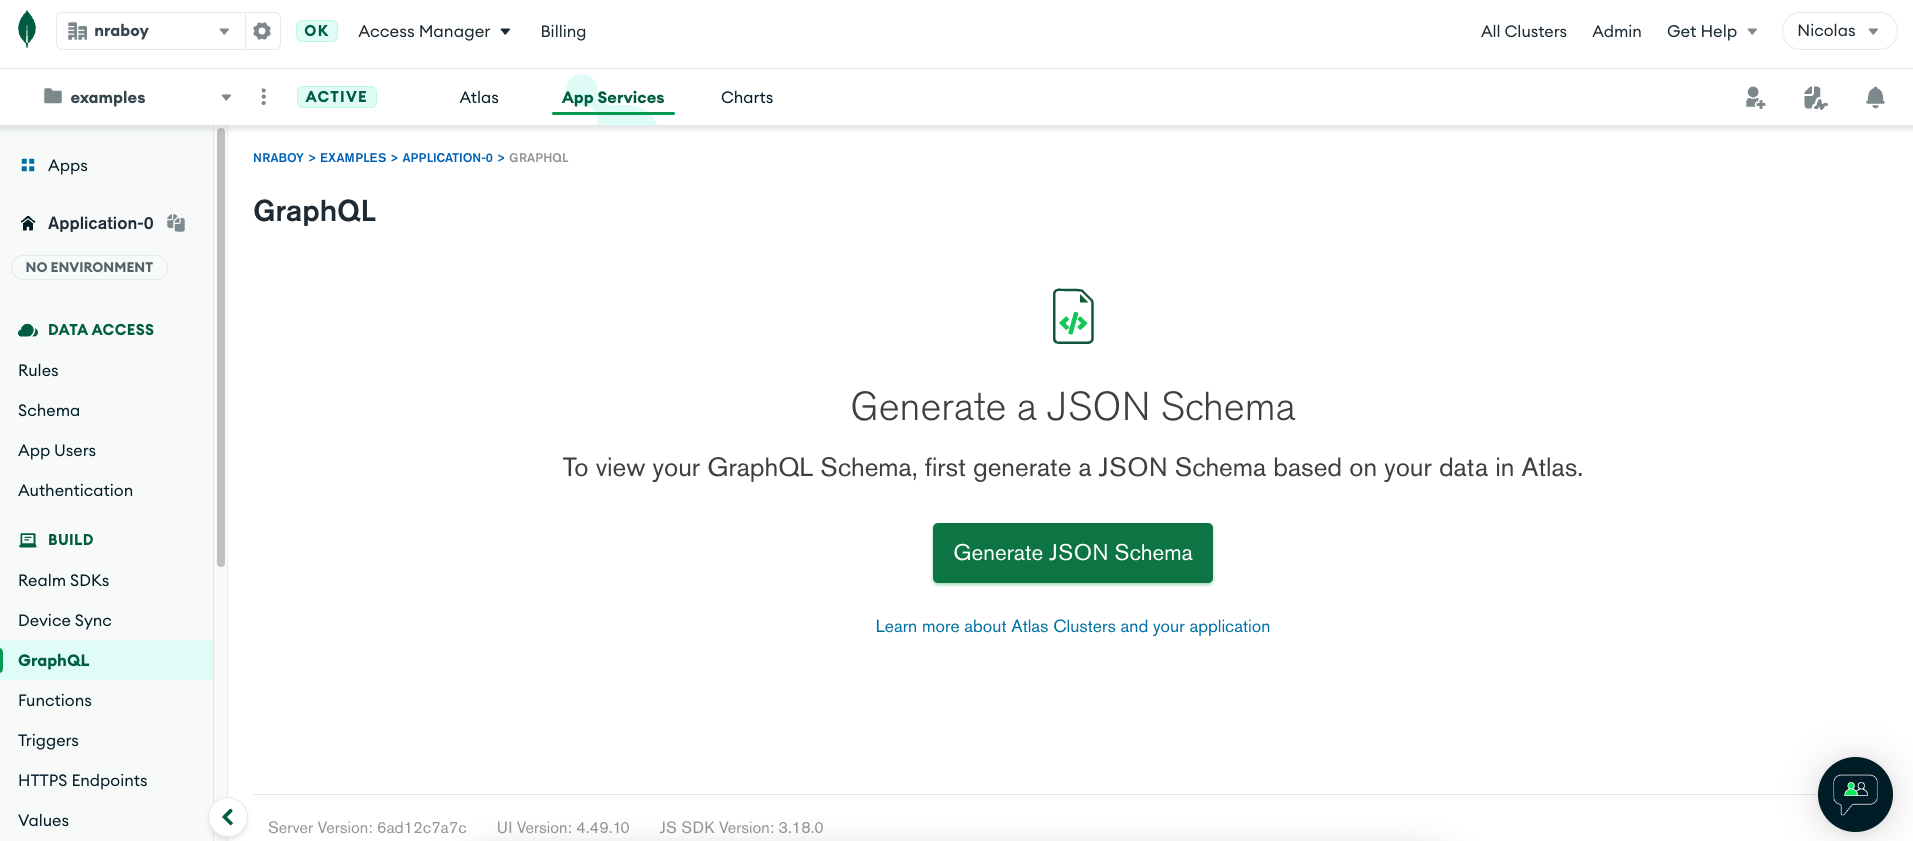
With the database ready to go, click on the “App Services” navigation tab and choose to create a new application. The name isn’t important as long as you are pointing to the correct cluster.
Within the MongoDB App Services portal, click the “GraphQL” tab and choose the “Generate JSON Schema” button. Find the database and collection you want to use with GraphQL and click the “Generate a Schema” button. We’re using the “sample_mflix” database and “movies” collection in this example.

Don’t forget to save after it generates!
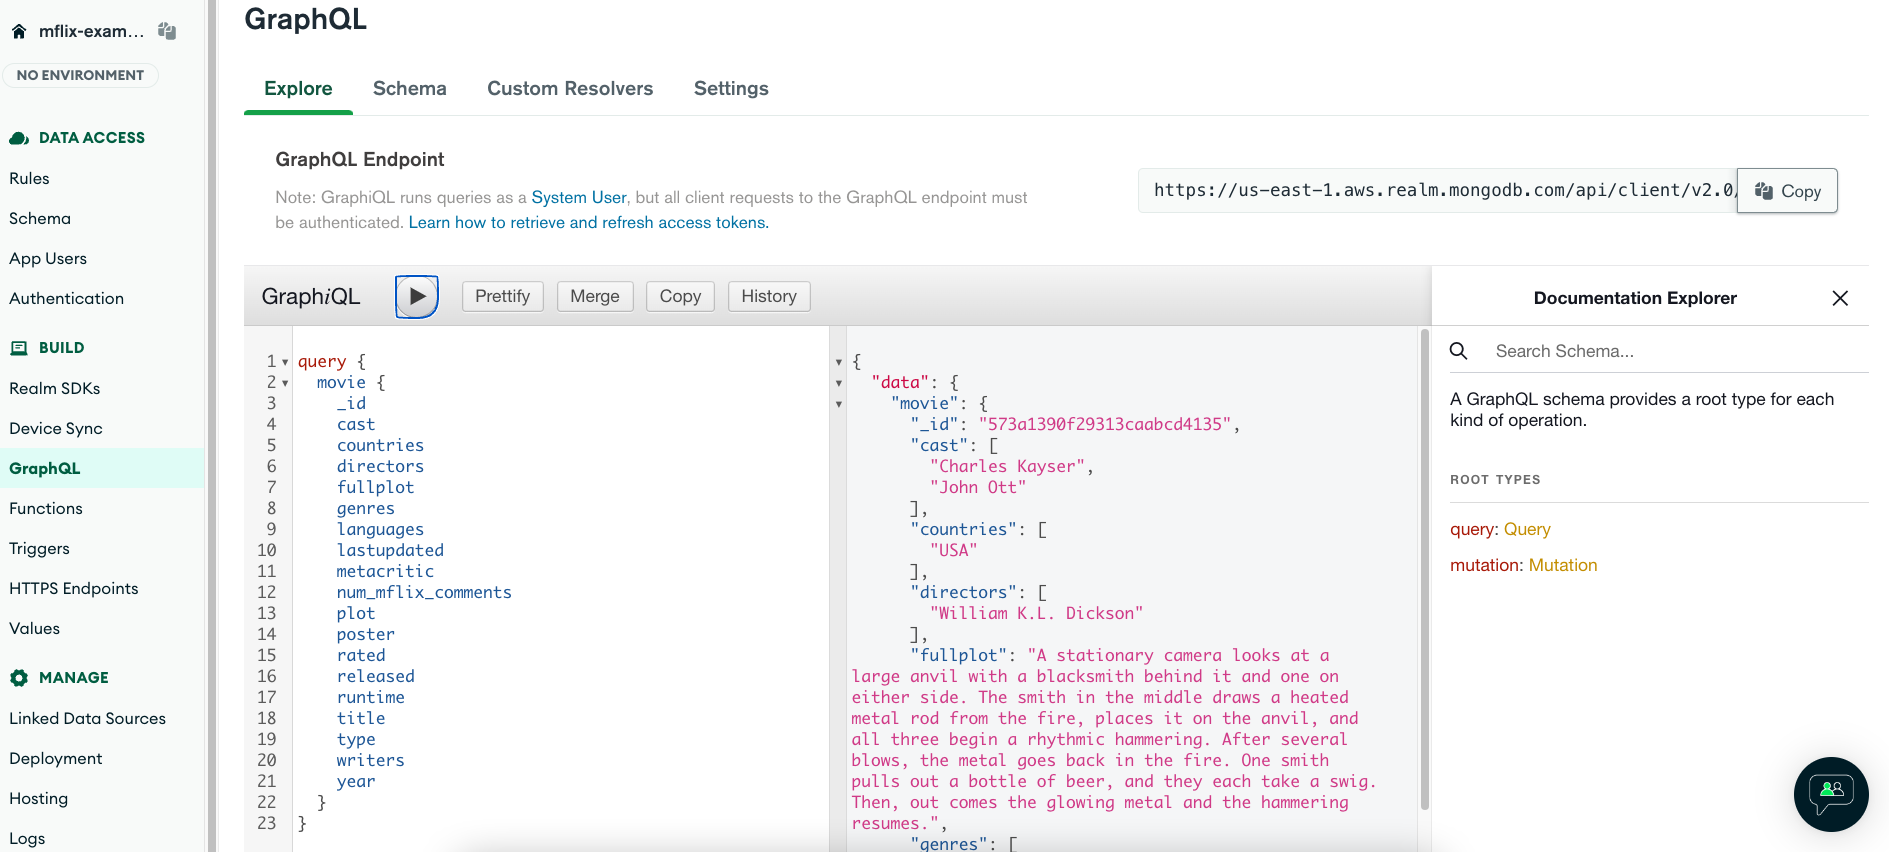
Back in the “GraphQL” tab, you can now start querying your collection with GraphQL queries. You’ll also notice your public GraphQL URL on the same page.

We’re not done yet because we also need to generate a key for our API.
Click the “Authentication” tab and choose to edit the “API Keys” in the list. Enable the provider and generate a key. Don’t forget your key because it will be used when we start writing code.
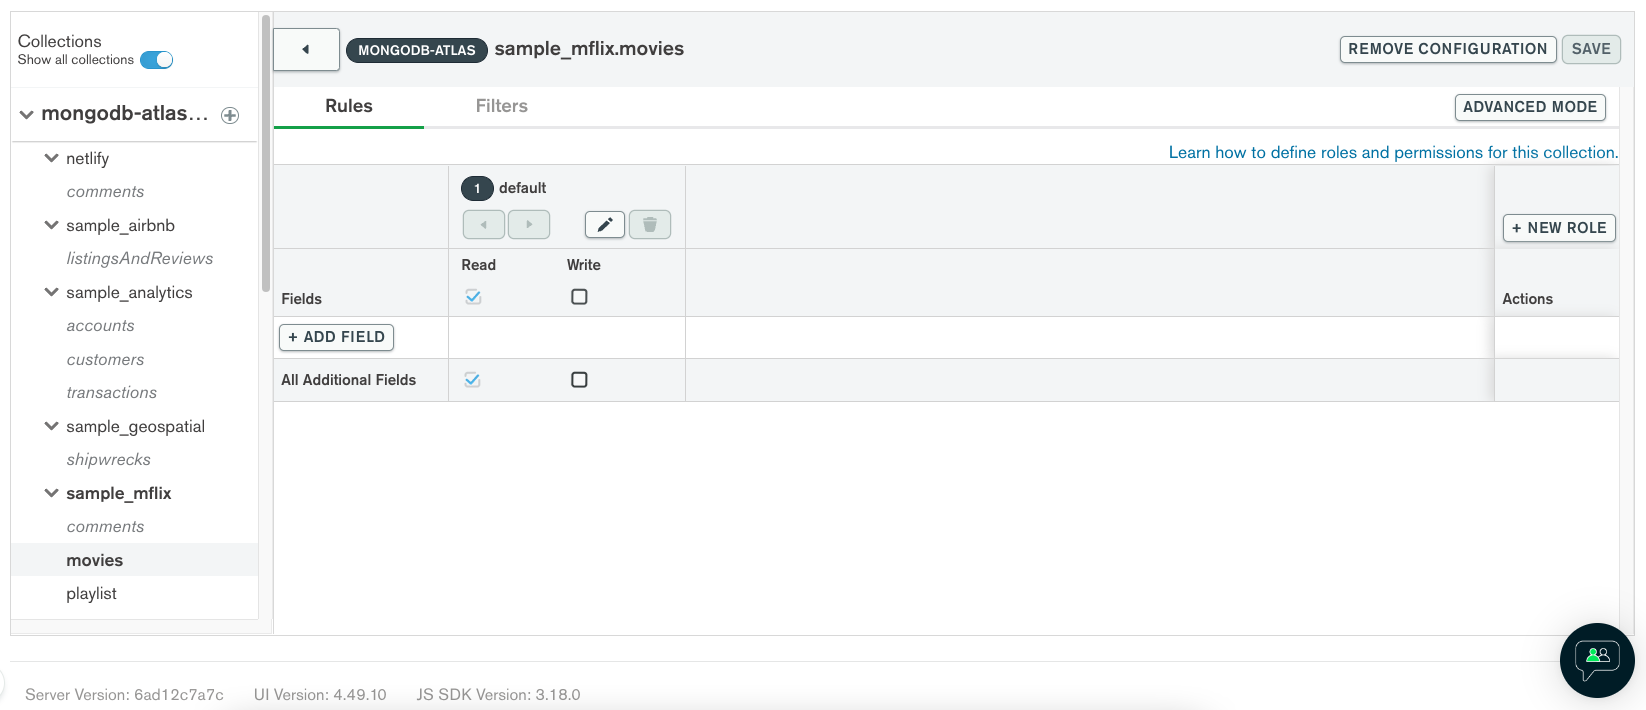
Since we’re planning to use authentication, we need to click the “Rules” tab and define a new access rule for the collection that we’re using. For this example, add a new rule that says everyone can read, but not write. Change the rules to best meet your needs.

Your GraphQL API is ready to go and you only had to do a few clicks within MongoDB!
Query a GraphQL API with a few lines of C# code
We have a boilerplate .NET Core project and we have a GraphQL API to work with. Let’s spend a little time putting some code together to query that API from the project.
It isn’t a requirement, but it’s a good idea to define a class for the GraphQL results. This will make your application more maintainable for the future. Within your project, create a new GraphQLMovieResponse.cs file with the following C# code:
public class GraphQLMovieResponse {

    public Movie Movie { get; set; }

};

public class Movie {

    public string Title { get; set; }
    public string Plot { get; set; }

}
The idea behind this class is that we’ll be working with data that looks like the following:
{
    "data": {
        "movie": {
            "title": "The Terminator",
            "plot": "A human-looking indestructible cyborg is sent from 2029 to 1984 to assassinate a waitress, whose unborn son will lead humanity in a war against the machines, while a soldier from that war is sent to protect her at all costs."
        }
    }
}
Yes, there are more fields than just the title and plot fields in our collection and GraphQL schema. For the sake of this example, we’re only going to map the fields we plan to use.
Open the project’s Program.cs file and replace the contents with the following:
using GraphQL;
using GraphQL.Client.Http;
using GraphQL.Client.Serializer.Newtonsoft;
using Newtonsoft.Json;

var graphQLHttpClientOptions = new GraphQLHttpClientOptions
{
    EndPoint = new Uri("YOUR_GRAPHQL_API_ENDPOINT_HERE")
};

var httpClient = new HttpClient();

httpClient.DefaultRequestHeaders.Add("apiKey", "YOUR_APP_SERVICES_API_KEY_HERE");

var graphQLClient = new GraphQLHttpClient(graphQLHttpClientOptions, new NewtonsoftJsonSerializer(), httpClient);

var movieRequest = new GraphQLRequest
{
    Query = @"
        {
            movie {
                title,
                plot
            }
        }
    "
};

var graphQLResponse = await graphQLClient.SendQueryAsync<GraphQLMovieResponse>(movieRequest);

Console.WriteLine("{0}: {1}", graphQLResponse.Data.Movie.Title, graphQLResponse.Data.Movie.Plot);
A few things are happening in the above code.
First, we’re defining our endpoint URL, which in this example is the endpoint the MongoDB App Services provides when configuring GraphQL. Next we’re adding an apiKey header to the request with our MongoDB App Services key that we defined for authentication. If your API doesn’t require authentication, you won’t need to add this.
Using the endpoint and key information, a client can be created. With the client, we can create a standard GraphQL query and send it.
The result of our request will be returned as a GraphQLMovieResponse like we had previously created. With this response, we can access each of the fields and use them however we want.
Conclusion
You just saw how to work with a GraphQL API from your .NET Core application. This example was simple because we only did a single query, but you can easily review the GraphQL specification to do more complex things.
To make things more exciting, we also saw how to deploy a GraphQL API using a few mouse clicks and MongoDB. This was made possible because of the MongoDB App Services.
Have a question regarding this tutorial? Visit the MongoDB Community Forums and engage with developers that have similar interests.
This content first appeared on MongoDB.

