Configure Visual Studio Code For C++ Development
I mentioned a few months ago that I was going to periodically go back to the basics when it comes to computer programming and application development. Building a Hello World Example C++ Application was a first example of what I was talking about. However, in this previous example, much of our work was done in a basic text editor, then compiled and ran with a Command Prompt or Terminal. It works, but it isn’t the most elegant.
In this tutorial we’re going to see how to configure a more modern IDE for C++ development. Visual Studio Code (VSC) actually has really nice support for C++, so we’re going to see how to configure it.
Going forward, I can confirm that the steps of this tutorial work for macOS. I haven’t tried on Windows and Linux, but as long as g++ is available, I imagine it should work fine. If you run into differences, please share them in the comments.
Installing the C++ Extension for Visual Studio Code by Microsoft
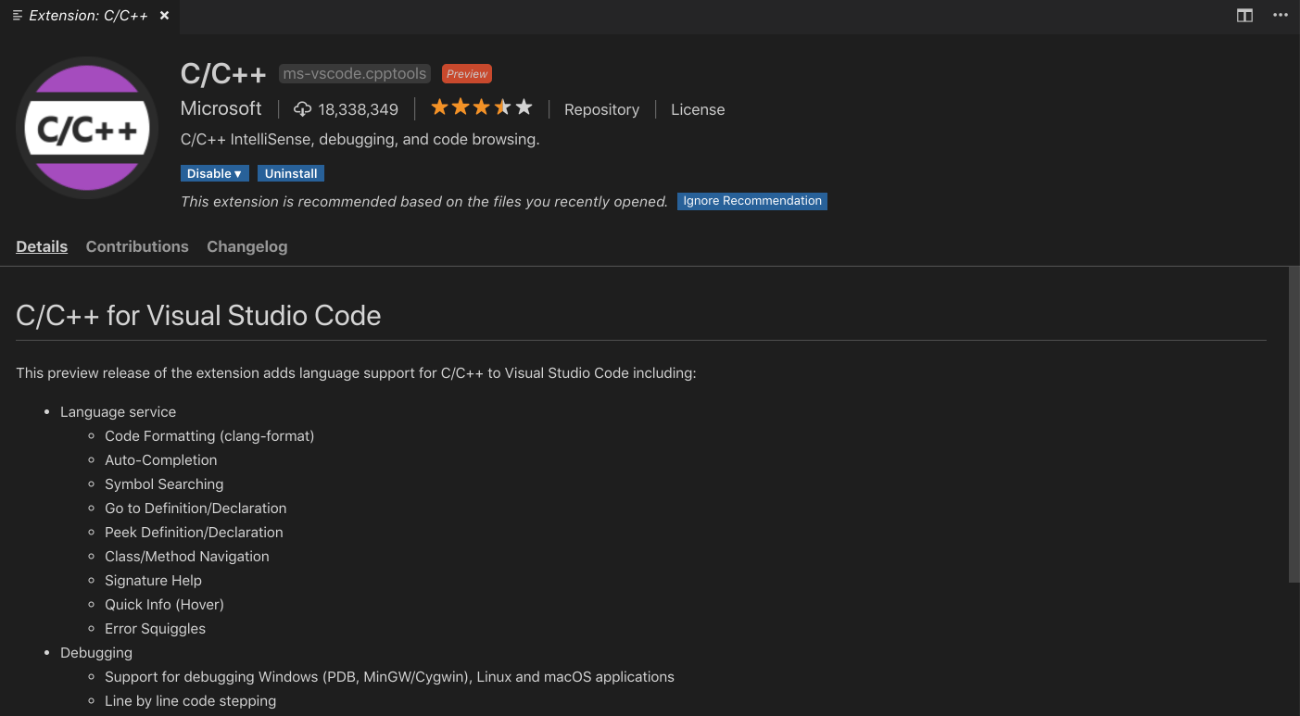
Assuming you have Visual Studio Code installed, open the Extensions Marketplace. You’ll want to do a search for C++, which will hopefully show the C/C++ extension which is published by Microsoft. The extension itself will provide intellisense, code formatting, and a bunch of other useful things that you’d hope for in a full fledged C++ IDE.

You may have to restart Visual Studio Code for changes to take affect.
With the extension available to us, we can now create a set of tasks to be used in our C++ project.
Configuring Tasks in Visual Studio Code for Building and Running C++ Applications
Visual Studio Code gives developers access to Tasks which is not specific to any particular programming language. This means it isn’t a C++ thing, it is a Visual Studio Code thing.
If you’re like me and from the JavaScript world, the concept of a task is kind of like a Gulp or Grunt workflow. You can create a task to perform certain actions and easily run them on-demand.
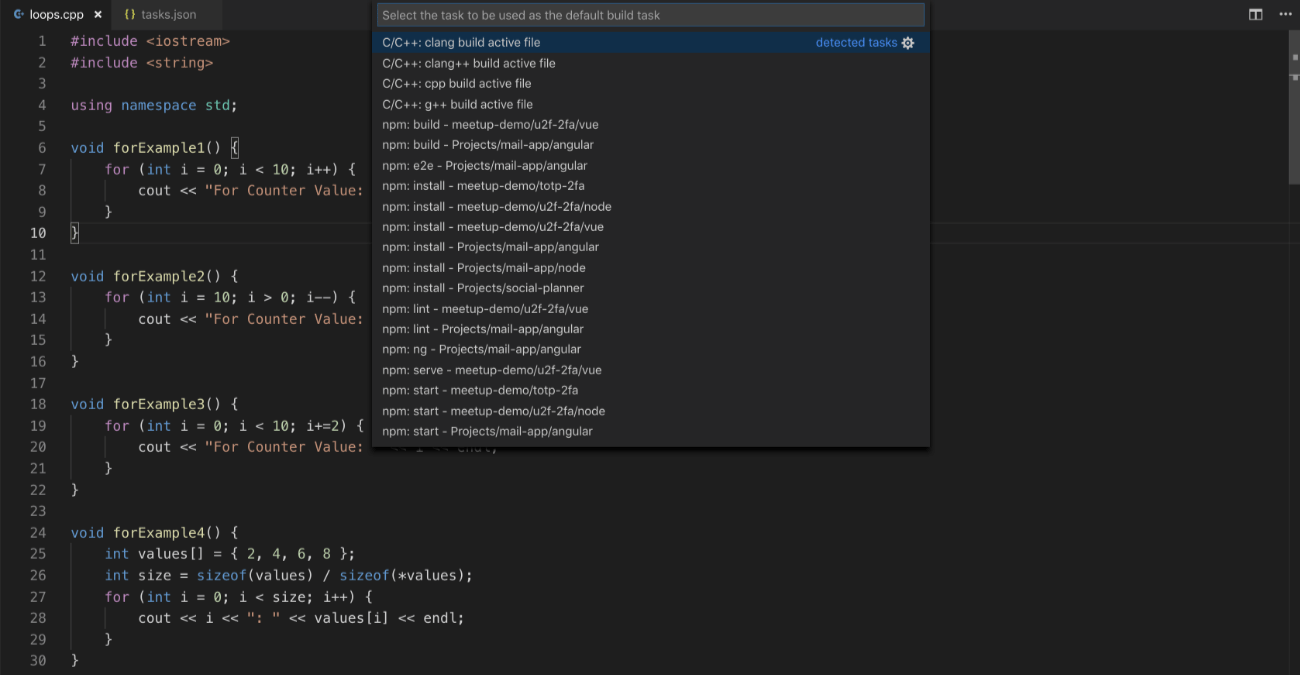
With a C++ file opened, choose Terminal -> Configure Default Build Task from the Visual Studio Code menu. You’ll be presented with a list of options to use as your base template.

While it doesn’t matter a whole lot, it will save us some time to choose the C/C++: g++ build active file. If everything went smooth you should have a tasks.json file. It will eventually save itself in the .vscode directory of your project.
The tasks.json file can include numerous tasks. For example, you could have a test for building your project and another task for running your tests.
Take the following for example:
{
    "version": "2.0.0",
    "tasks": [
        {
            "label": "build",
            "type": "shell",
            "command": "g++",
            "args": [
                "main.cpp",
                "-o",
                "${workspaceFolderBasename}"
            ],
            "problemMatcher": []
        }
    ]
}
The above JSON is a single task. It will use g++ to compile a main.cpp file within the project and output a binary with the name of the containing directory. The ${workspaceFolderBasename} is one of the many variables that Visual Studio Code has.
We can expand upon our list of available tasks by modifying our JSON to the following:
{
    "version": "2.0.0",
    "tasks": [
        {
            "label": "build",
            "type": "shell",
            "command": "g++",
            "args": [
                "main.cpp",
                "-o",
                "${workspaceFolderBasename}"
            ],
            "problemMatcher": []
        },
        {
            "label": "run",
            "type": "shell",
            "command": "./${workspaceFolderBasename}",
            "dependsOn": [
                "build"
            ],
            "problemMatcher": []
        }
    ]
}
We’ve added a run task which depends on the previous build task. This means if we execute the run task it will first execute the build task then run our binary file.
Conclusion
You just saw how to configure Visual Studio Code for C++ development. While I’ve only tested this for macOS, I’m confident that it should work on Linux and Windows with little to no adjustment. This is great in case you’d prefer to not use the standard Visual Studio which might be clunky.
If you want to get started with C++, consider my previous tutorial and catch up with some of the programming basics. Ocassionally I’ll be sharing some basic programming concepts on the blog for developers beginning their career.
A video version of this tutorial can be seen below.

